The CPU fan speed detection error is a common issue encountered by computer users, especially those who build custom PCs or perform hardware upgrades. This error typically appears during the boot process, often accompanied by a message like “CPU fan speed error detected.”
The “CPU Fan Speed Detection Error” means your computer can’t detect the speed of the CPU fan. This might happen if the fan is not connected properly, is broken, or the motherboard’s fan sensor isn’t working. It can also occur due to dust buildup or BIOS settings issues. Fix it by checking connections, cleaning the fan, or updating the BIOS.
In this article, we will discuss “CPU Fan Speed Detection Error”.
What Is a CPU Fan Speed Detection Error?
This error indicates that your computer’s BIOS/UEFI is unable to detect the rotation speed of the CPU cooling fan or detects a speed that is too low. Since the CPU fan is responsible for dissipating heat from the processor, any issue with its speed can lead to overheating and potential hardware damage.
Why Does This Error Occur?
There are several reasons behind the CPU fan speed detection error:
- Incorrect BIOS Settings: Fan settings in the BIOS/UEFI might be configured incorrectly.
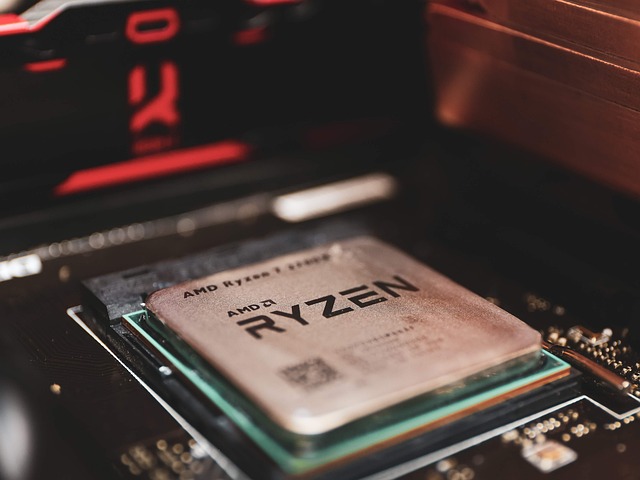
- Faulty Fan: The fan itself may be malfunctioning or broken.
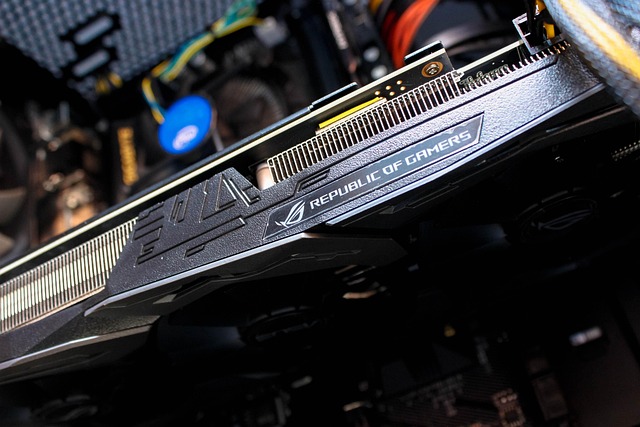
- Connection Issues: Loose or improperly connected fan headers can cause detection problems.
- Dust and Debris: Accumulation of dust on the fan can slow it down.
- Low RPM Fans: Some high-performance fans operate at lower speeds, which the BIOS might incorrectly interpret as a fault.
How to Fix CPU Fan Speed Detection Error
Follow these troubleshooting steps to resolve the issue:
1. Check BIOS/UEFI Settings
- Restart your computer and enter the BIOS/UEFI settings (usually by pressing F2, DEL, or ESC during startup).
- Go to the Hardware Monitor or Fan Control section.
- Check the CPU fan speed settings and ensure it’s set to Automatic or Standard mode.
- Adjust the fan speed limit to a lower RPM if needed.
2. Inspect Fan Connections
- Power off your system and disconnect from the power source.
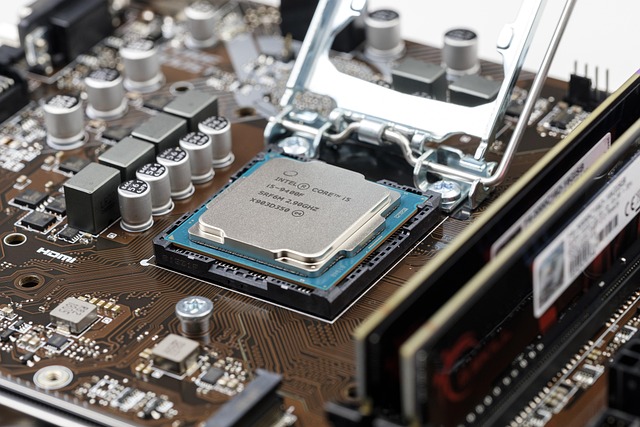
- Open the case and examine the CPU fan connector. Ensure it is firmly connected to the correct fan header (usually labeled CPU_FAN).
- If using a fan splitter or hub, make sure the connections are secure.
3. Clean the CPU Fan
- Dust accumulation can hinder the fan’s movement.
- Carefully clean the fan blades using compressed air or a soft brush.
- Make sure the fan spins freely after cleaning.
4. Replace or Upgrade the Fan
- If the fan itself is faulty or underperforming, consider replacing it.
- Choose a fan that matches your CPU cooler and motherboard specifications.
5. Update BIOS/UEFI
- Sometimes, an outdated BIOS may fail to detect modern fans correctly.
- Visit your motherboard manufacturer’s website and download the latest BIOS update.
- Follow the instructions carefully to perform the update.
Preventing CPU Fan Speed Errors
To minimize the chances of encountering this error, follow these preventive measures:
- Regular Maintenance: Clean your PC components regularly to avoid dust buildup.
- Check Connections: Periodically inspect fan connectors for tightness.
- Monitor Temperatures: Use software tools to keep an eye on CPU temperatures and fan speeds.
How do I fix my CPU fan speed error?
To fix a CPU fan speed error, check the fan connection to the motherboard and ensure it’s plugged into the correct header (CPU_FAN).
Clean the fan and vents to prevent overheating. Update your BIOS to the latest version and adjust the fan speed settings in the BIOS to appropriate levels. Replace faulty fans if needed.
How to disable CPU fan speed detection error?
To disable the CPU fan speed detection error, enter the BIOS by pressing a designated key (like F2 or Del) during startup. Locate the “Monitor” or “Hardware” settings, and set “CPU Fan Speed” to “Ignore.” Save and exit the BIOS. This will stop the error message from appearing during boot.
How to bypass CPU fan error on ASUS?
To bypass the CPU fan error on an ASUS motherboard, enter the BIOS, go to the “Monitor” or “Hardware Monitor” section, and find “CPU Fan Speed.” Set the value to “Ignore” or change the fan speed threshold to a lower value. Save changes and restart to avoid the error during boot.
Why is my CPU fan not detected?
A CPU fan may not be detected due to improper connection, a faulty fan header, or BIOS configuration issues. Ensure the fan is connected to the CPU_FAN header and not a chassis fan header.
Reset BIOS settings or update the firmware if the issue persists. Test with another fan to rule out hardware faults.
CPU fan speed detection error ASUS?
On ASUS motherboards, the CPU fan speed detection error often occurs if the fan is not spinning fast enough or is incorrectly connected.
Check the fan placement on the CPU_FAN header. Adjust fan speed settings in the BIOS or set the fan speed warning to “Ignore” to resolve the issue.
CPU fan speed detection error how to set to ignore?
To set the CPU fan speed detection error to ignore, enter the BIOS setup, usually by pressing F2 or Del during startup.
Navigate to the “Monitor” or “Fan Speed” section and select the “CPU Fan Speed” option. Change the setting to “Ignore” or “Disabled” and save changes before exiting.
CPU fan speed detection error ASUS TUF?
For ASUS TUF motherboards, a CPU fan speed detection error can occur if the fan speed is below the warning threshold.
Access the BIOS, go to “Monitor” settings, and set “CPU Fan Speed” to “Ignore” or lower the speed threshold. Update the BIOS if needed to fix compatibility issues.
CPU fan speed detection error AIO?
When using an AIO (All-In-One) cooler, the CPU fan speed detection error may occur if the pump is connected to the wrong header.
Plug the AIO pump into the CPU_FAN or AIO_PUMP header, and set the fan speed to “Ignore” in the BIOS to prevent errors while still allowing cooling.
CPU fan speed detection error water cooler?
With water coolers, the error often arises because the pump is not detected as a fan. Connect the pump to the CPU_FAN header or the dedicated AIO_PUMP header.
Set the BIOS to ignore CPU fan speed or adjust the speed threshold to avoid detection errors during system startup.
CPU fan speed detection error after BIOS update?
After a BIOS update, the CPU fan speed error may occur due to reset settings. Enter the BIOS and verify that the fan speed is correctly configured.
Sometimes, default settings change the fan header to a different mode. Adjust the fan speed warning or set it to “Ignore” to resolve the issue.
CPU fan speed detection error disabled?
If the CPU fan speed detection error is disabled but still showing, it could be due to a faulty BIOS update or corrupted settings.
Reset the BIOS to default, recheck the fan connections, and ensure the fan profile is properly configured. Updating the BIOS again might also resolve persistent error messages.
Frequently Asked Questions:
1. Why does my PC keep showing a CPU fan speed error on startup?
This usually indicates that the BIOS cannot detect the fan speed or the speed is too low. It could be caused by incorrect BIOS settings, a faulty fan, loose connections, or dust buildup on the fan blades.
2. Can I ignore the CPU fan speed detection error?
Ignoring the error can lead to CPU overheating and potential hardware damage. It’s crucial to investigate the cause and fix the issue rather than dismissing the warning.
3. How do I disable the CPU fan speed error in BIOS?
While it is possible to disable the error message in the BIOS settings, this is not recommended. Instead, fix the underlying problem to ensure your CPU remains adequately cooled.
4. Can software monitor CPU fan speed?
Yes, applications like HWMonitor, SpeedFan, and BIOS utilities can track fan speeds and temperatures, helping you diagnose issues more accurately.
5. What should I do if replacing the fan does not fix the error?
If the error persists after replacing the fan, the problem could be related to the motherboard, fan header, or BIOS settings. In such cases, consult a technician to diagnose the hardware more thoroughly.
Conclusion:
A CPU fan speed detection error can be concerning, but it’s usually a manageable issue. By following the troubleshooting steps outlined in this guide, you can quickly identify the cause and fix the problem, ensuring your CPU stays adequately cooled. Regular maintenance and system checks can also help prevent this error from recurring.
If you continue to encounter the issue despite following these solutions, it may indicate a hardware fault that requires professional inspection. Proper cooling is essential for CPU performance and longevity, so always address fan speed errors promptly.