How To Overclock Cpu – A Simple Guide!
Learn how to safely overclock your CPU for improved performance with this guide. Boost your computer’s speed and efficiency with expert tips and instructions.
In this guide, we walk you through the process of safely overclocking your CPU to boost performance. We cover everything from understanding key settings to monitoring temperatures and ensuring stability. Whether you’re a gamer or power user, these tips will help you get the most out of your system.
What is Overclocking?
Overclocking refers to the process of increasing the clock speed of your CPU beyond its default specifications. Every CPU operates at a base clock speed, typically expressed in GHz (gigahertz), which determines how fast it can process instructions. When you overclock your CPU, you’re telling it to run at a faster speed, which can result in better performance in demanding applications.
However, overclocking isn’t without its risks. Pushing your CPU beyond its designed limits can generate extra heat, potentially cause system instability, and even shorten the lifespan of your processor if done improperly. Therefore, it’s important to follow the correct steps and ensure that your system is well-prepared for the process.
Why Overclock Your CPU?
There are several reasons why people choose to overclock their CPUs:
- Improved Performance: Overclocking gives you more processing power, which can enhance gaming, video editing, 3D rendering, and other CPU-intensive tasks.
- Cost-Effective Upgrade: If you’re on a tight budget, overclocking can give your existing CPU a significant performance boost without the need to buy an entirely new processor.
- Future-Proofing: By overclocking, you can extend the useful life of your CPU, making it more capable of handling newer, more demanding applications.
Prerequisites Before Overclocking:
Before jumping into the overclocking process, ensure you meet the following prerequisites:
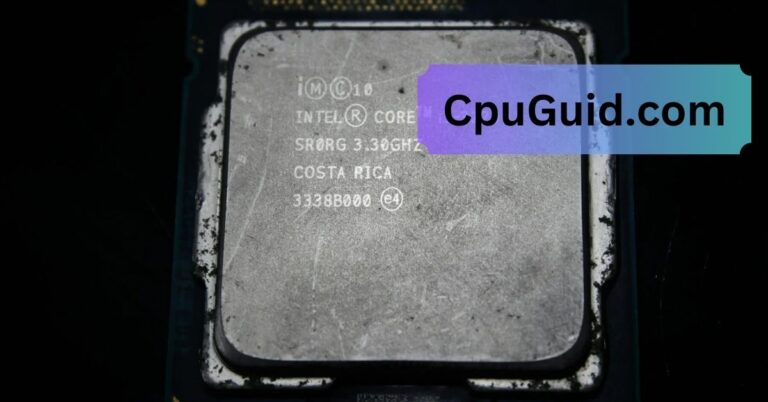
- Unlocked CPU: Not all CPUs are designed to be overclocked. Intel CPUs with a “K” suffix (e.g., i7-12700K) and AMD Ryzen processors are typically unlocked and can be overclocked.
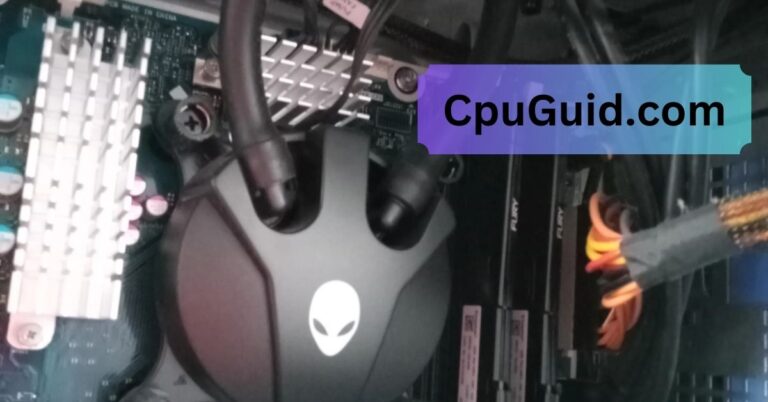
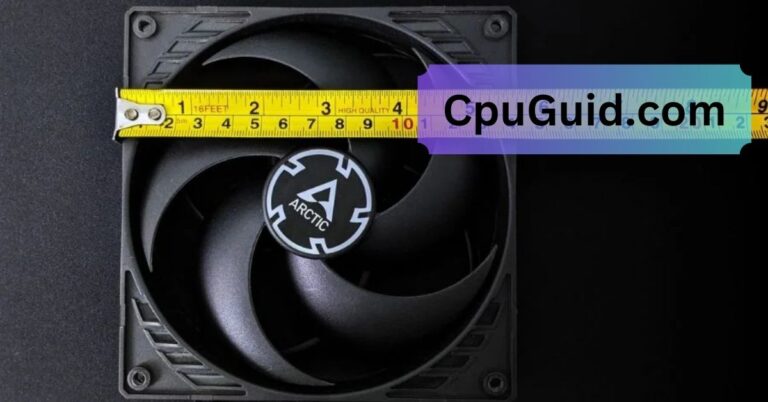
- Good Cooling System: Overclocking generates additional heat, so you’ll need a high-quality CPU cooler (air or liquid cooling) to prevent your CPU from overheating.
- Stable Power Supply: Overclocking can draw more power from your PSU (power supply unit), so ensure your power supply is reliable and provides sufficient wattage.
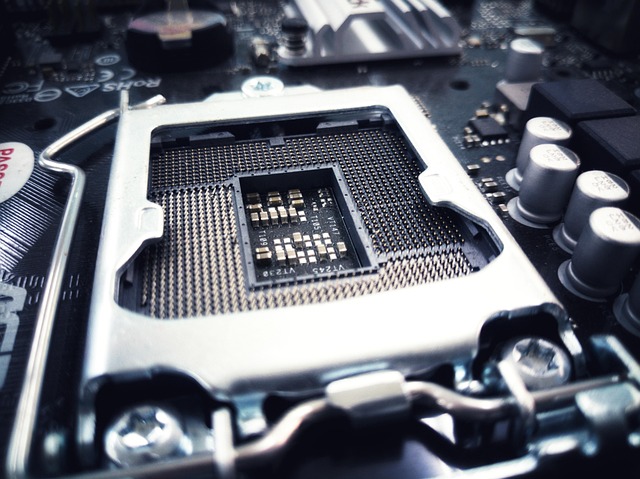
- Motherboard Compatibility: Your motherboard must support overclocking. For Intel, this usually means having a Z-series chipset (e.g., Z490 or Z590), while AMD users will need a B-series or X-series chipset.
Read More: Do Cpu Come With Cooler – Everything You Need to Know!
Step-by-Step Guide to Overclocking Your CPU:
Step 1: Enter the BIOS/UEFI Settings!
To begin overclocking, you’ll need to access the BIOS/UEFI firmware of your motherboard. The BIOS/UEFI is the low-level interface between your hardware and operating system, where all critical system settings are controlled.
Reboot your computer:
- During boot-up, press the appropriate key (usually Del, F2, or F10) to enter BIOS/UEFI settings.
- Once inside, locate the CPU settings or overclocking section.
Step 2: Understand Key Overclocking Parameters!
There are several key settings in the BIOS/UEFI that you’ll need to adjust to overclock your CPU:
- CPU Multiplier/Ratio: This determines how fast your CPU runs. Increasing this value increases the CPU’s clock speed. For example, if your base clock is 100MHz and your CPU multiplier is 35, your CPU runs at 3.5GHz.
- Base Clock (BCLK): The base clock is the foundation for the CPU’s clock speed. While it’s possible to increase the base clock, doing so can affect other system components, so it’s often safer to adjust the CPU multiplier instead.
- Core Voltage (Vcore): Increasing the voltage can help stabilize an overclocked CPU. However, increasing Vcore too much can result in overheating and potential damage, so it should be done cautiously.
Step 3: Increase the CPU Multiplier!
- Start Slowly: Begin by increasing the CPU multiplier in small increments, typically by one or two steps (e.g., from 35 to 36). This increases your CPU’s clock speed gradually and helps reduce the risk of instability.
- Save and Exit BIOS: After making the adjustments, save your settings and exit the BIOS/UEFI.
- Test Stability: Once you’ve booted into your operating system, use benchmarking and stress-testing software (like Prime95, AIDA64, or Cinebench) to test your CPU’s stability. Run these tests for at least 30 minutes to ensure the system remains stable.
Step 4: Monitor Temperatures and Stability!

During stress testing, it’s important to monitor your CPU’s temperatures. Overclocking generates extra heat, so ensuring your CPU stays within safe temperature ranges is crucial.
- Safe Temperature Range: Most modern CPUs can safely operate at temperatures up to 80-90°C, but it’s best to keep your CPU temperature under 80°C during stress tests for optimal longevity.
- Use Monitoring Tools: Tools like HWMonitor, CoreTemp, or MSI Afterburner allow you to monitor real-time temperatures, clock speeds, and voltages during testing.
If your CPU temperature exceeds the safe limit, or if the system crashes or exhibits instability, you may need to lower your overclock or improve cooling.
Step 5: Fine-Tune Voltage and Stability!
If your system crashes during stress testing or shows signs of instability (e.g., freezes, blue screens), you may need to slightly increase the CPU voltage (Vcore).
- Increase Vcore in Small Increments: Increase the voltage by small increments (e.g., 0.01-0.05V).
- Test Stability Again: After adjusting the voltage, run the stress tests again to check for stability. Keep increasing the voltage until your system becomes stable, but avoid exceeding the safe voltage limits specified by your CPU manufacturer.
Remember that increasing voltage increases heat output, so monitor temperatures closely and adjust your cooling solution as needed.
Step 6: Finalize the Overclock!
Once you’ve found a stable overclock, it’s time to finalize your settings. Keep running stress tests over longer periods to ensure that your CPU remains stable over time. If your system holds up well under continuous load, you’ve successfully overclocked your CPU!
Additional Tips for Successful Overclocking:
- Gradual Adjustments: Avoid making drastic changes to your CPU’s clock speed or voltage. Small, incremental changes help prevent instability.
- Use XMP Profiles: If your RAM is capable of higher speeds, you can enable XMP (Extreme Memory Profile) in BIOS to automatically adjust RAM settings for better performance.
- Be Patient: Overclocking is often a trial-and-error process. It might take time to find the optimal balance between performance and stability.
- Stress Testing: Always stress test after any adjustment to ensure that your overclock is stable under load.
Read More: What Games Are Cpu Intensive – A Comprehensive Guide!
Risks of Overclocking:
Although overclocking can lead to impressive performance gains, it also comes with risks:
- Increased Heat: Overclocking generates more heat, which can damage your CPU if not adequately cooled.
- System Instability: Pushing your CPU too hard can lead to system crashes, freezes, and data corruption.
- Warranty Void: Overclocking may void your CPU’s warranty, so be aware of potential consequences.
FAQ’s
1. What is overclocking a CPU?
Overclocking a CPU involves increasing its clock speed beyond the default settings to boost performance. This can result in faster processing for tasks like gaming or video editing.
2. Is overclocking safe for my CPU?
Overclocking is safe if done carefully and with proper cooling. However, excessive overclocking can cause overheating and system instability.
3. Do I need special hardware to overclock my CPU?
Yes, you’ll need an unlocked CPU (e.g., Intel K-series or AMD Ryzen), a compatible motherboard, and a good cooling solution to overclock effectively and safely.
4. What tools should I use to test CPU stability after overclocking?
You can use stress-testing software like Prime95, AIDA64, or Cinebench to test the stability and performance of your CPU after overclocking.
5. How can I monitor the temperature of my CPU during overclocking?
Use monitoring tools such as HWMonitor, CoreTemp, or MSI Afterburner to keep track of CPU temperatures in real-time while stress testing.
Conclusion:
Overclocking can offer a significant performance boost for gamers, creators, and power users, but it requires patience and caution. By carefully increasing your CPU’s clock speed, monitoring temperatures, and testing stability, you can enjoy faster processing speeds and enhanced performance without the need for an expensive upgrade.